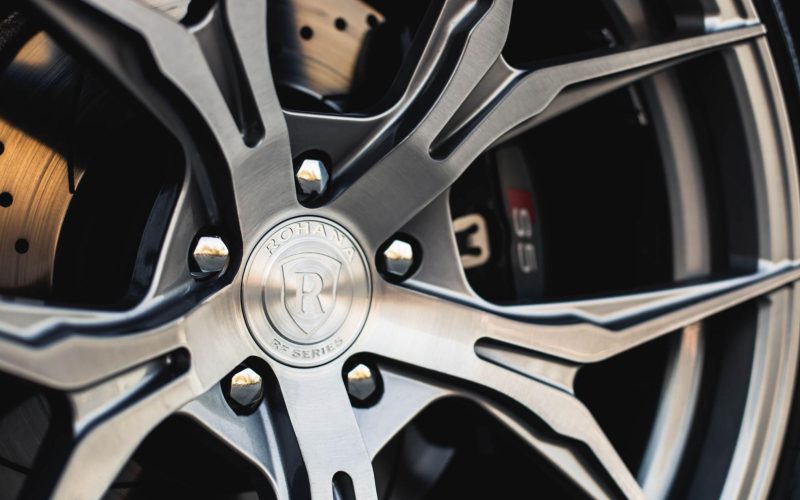
Alloy wheels are renowned for their aesthetic appeal and performance enhancements, making them a preferred choice for many car enthusiasts and everyday drivers. This in-depth guide provides detailed instructions for maintaining alloy wheels in the UK and discusses the process of professional refurbishment when needed.
Table of Contents
- Introduction
- Tools and Materials
- Cleaning Alloy Wheels
- Protecting Alloy Wheels
- Repairing Alloy Wheels
- Alloy Refurbishment
- Introduction: Composed of aluminium and other lightweight metals, alloy wheels surpass standard steel wheels in performance, fuel efficiency, and style. Regular maintenance and occasional refurbishment are vital to preserve these benefits and maintain your vehicle’s value.
- Tools and Materials: Assemble the following tools and materials before starting maintenance or a refurbishment task for your alloy wheels:
- A hose or bucket of water
- Car wash soap or alloy wheel cleaner
- Soft bristle brush or microfiber cloth
- Wheel brush
- Wheel cleaner brush (optional)
- Wheel cleaner gel (for stubborn grime)
- Wheel wax or sealant
- Applicator pads or microfiber towels
- Plastic bags or wheel covers
- Latex gloves (optional)
- Jack and jack stands (for wheel removal, if necessary)
- Socket set (for wheel removal, if necessary)
- Wheel repair kit (optional for minor damage)
- Alloy refurbishment kit (if needed for extensive repairs)
- Cleaning Alloy Wheels: Frequent cleaning is essential to protect your alloy wheels from damage caused by brake dust and road dirt.
Step 1: Prepare Your Workspace
- Park your vehicle in a shaded area to avoid cleaning solutions drying too quickly.
- Ensure your alloy wheels are cool to the touch to prevent damage from temperature fluctuations.
Step 2: Rinse
- Begin by rinsing the wheels with water to remove loose dirt and debris.
Step 3: Apply Cleaner
- Use a wheel cleaner or a mixture of car wash soap and water to apply a generous layer of cleaner to the wheels. Allow it to dwell for a few minutes to loosen stubborn grime.
Step 4: Scrub
- Gently scrub the wheels with a soft bristle brush, wheel brush, and wheel cleaner brush if needed. Be cautious not to scratch the surface.
- Pay extra attention to the nooks and crannies where dirt tends to accumulate.
Step 5: Rinse Again
- Rinse the wheels thoroughly to remove all cleaning residue.
Step 6: Dry
- Dry the wheels using a clean microfiber towel to prevent water spots.
- Protecting Alloy Wheels: Applying wheel wax or sealant will enhance the longevity and aesthetic of your alloy wheels.
Step 1: Apply Wax or Sealant
- Use an applicator pad to apply a thin, even wheel wax or sealant layer.
- Follow the product’s instructions regarding drying time.
Step 2: Buff
- After the recommended drying period, buff the wheels with a clean microfiber towel until they shine.
- Repairing Alloy Wheels: Address minor damage with a wheel repair kit, but for more serious damage, professional alloy refurbishment is recommended.
Step 1: Clean the Damaged Area
- Ensure the damaged area is clean and free from any dirt or debris.
Step 2: Apply Filler
- Use the wheel repair kit to apply filler to the damaged area. Follow the kit’s instructions carefully.
Step 3: Sand and Smooth
- Once the filler has dried, sand it to create a smooth surface. Gradually use finer grit sandpaper for a polished finish.
Step 4: Paint
- If necessary, use touch-up paint to match the wheel’s colour and paint over the repaired area.
Step 5: Protect
- Apply a wheel wax or sealant to the entire wheel to protect the repaired area.
- Alloy Refurbishment: If your alloy wheels suffer from extensive damage, like deep scratches or severe corrosion, professional refurbishment is necessary to restore them to their original condition.
In conclusion, proper maintenance of alloy wheels in the UK is an investment that enhances your vehicle’s appearance and wheel longevity. Regular cleaning and protective measures are crucial, but for significant damage, consider professional alloy refurbishment.


