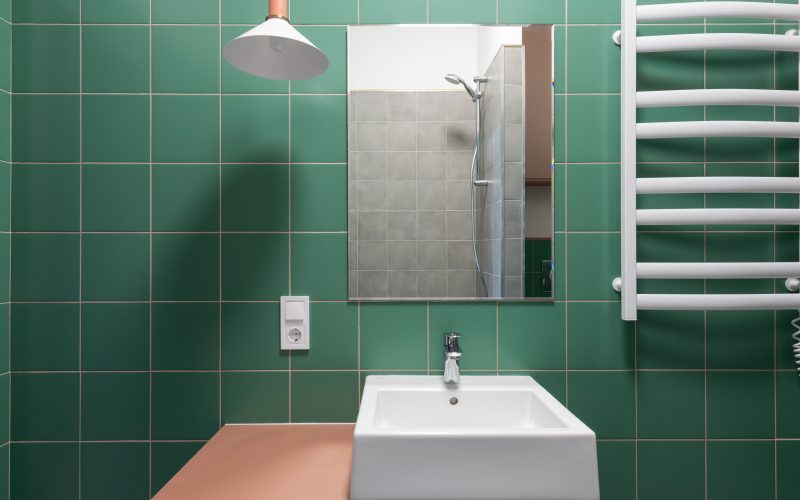
Updating the look of your bathroom doesn’t always require a complete overhaul. Stylish wall panels can offer a fresh and modern aesthetic, transforming your bathroom into a sophisticated and functional space. This comprehensive installation guide will walk you through the steps to successfully install wall panels in your bathroom, turning it into a visual masterpiece.
Tools and Materials: Before you begin, gather the following tools and materials:
- Wall panels of your choice
- Measuring tape
- Level
- Utility knife or saw
- Adhesive or mounting hardware
- Caulk and caulking gun
- Screwdriver
- Pencil or marker
- Safety goggles and gloves
- Cleaning supplies
Step-by-Step Installation:
1. Preparation:
- Clear the bathroom of any obstacles and furniture to provide ample working space.
- Turn off the water supply to prevent any accidental water damage during the installation process.
2. Measure and Plan:
- Measure the height and width of the walls where you intend to install the panels.
- Use a level and pencil to mark guidelines for accurate placement.
3. Cutting the Panels:
- Carefully measure and mark the dimensions of the panels on the backside.
- Use a utility knife or saw to cut the panels according to your measurements.
- Ensure clean and precise cuts for a professional finish.
4. Apply Adhesive:
- Depending on the type of panels, apply adhesive or mounting hardware to the back of the panels as per the manufacturer’s instructions.
- Make sure to evenly spread the adhesive to ensure proper adherence to the wall.
5. Panel Installation:
- Begin installing the panels from one corner or edge of the wall.
- Align the top edge of the panel with the guideline you marked earlier.
- Press the panel firmly against the wall to ensure a secure bond with the adhesive.
- Use a level to confirm that the panel is perfectly vertical.
6. Continue Installation:
- Repeat the process, adding panels one by one, ensuring they fit snugly against each other.
- Check for level and alignment frequently as you work your way across the wall.
7. Corners and Edges:
- For corners, use a miter saw to create clean, angled cuts that fit seamlessly together.
- Trim the edges of the panels as needed to ensure a precise fit.
8. Caulking and Sealing:
- Once all panels are in place, inspect the seams and edges.
- Apply caulk along the seams to create a watertight seal and enhance the overall appearance.
9. Finishing Touches:
- Reattach any fixtures or accessories that were removed before installation.
- Clean the panels and the surrounding area to remove any adhesive residue or dirt.
10. Final Inspection:
- Step back and carefully examine the installed panels for any imperfections.
- Make necessary adjustments to ensure a flawless finish.
With the completion of this comprehensive installation guide, you’ve successfully transformed your bathroom with stylish bathroom wall panels. Enjoy the new look and feel of your space, all while reveling in the satisfaction of a job well done. Remember, proper installation ensures both aesthetics and functionality, giving you a bathroom that truly stands out.


